
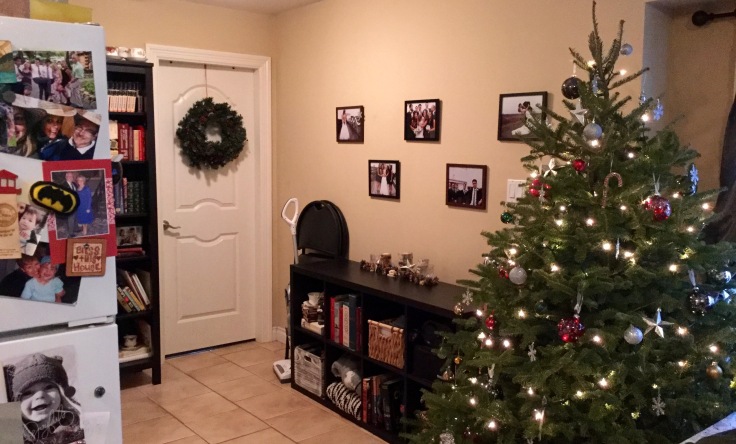
Last year I successfully eased (pressured) Ajay into embracing the novelty of a Christmas tree. I won’t highlight the shock I felt at the realization that such an altercation was necessary, because all that matters is that my once-scrooge husband has now given leeway for the emergence of Christmas traditions into our home. And I assure you that I have not failed to capitalize on that inch, but am rather enjoying this stretch of Christmassy mile in year two of marriage. Progress is a beautiful thing.
So what was next on the Christmas tradition docket? To decide, I needed only to refer back to my childhood recollection of the Christmas season, which just so happened to be completely riddled with advent calendars. There are four in particular I remember: the fabric Christmas tree with pockets for Christmas-themed chocolates, the empty nativity scene with a new character to Velcro into the stable each morning, the traditional German kind with cardboard doors and chocolates pressed into molds, and the twenty-four days of the Christmas story, where each installation of nativity narrative was read at the dinner table and hung by its string on a small tree. How can I be expected to transition from four annual advent calendars to none? The obvious answer is that I can’t.
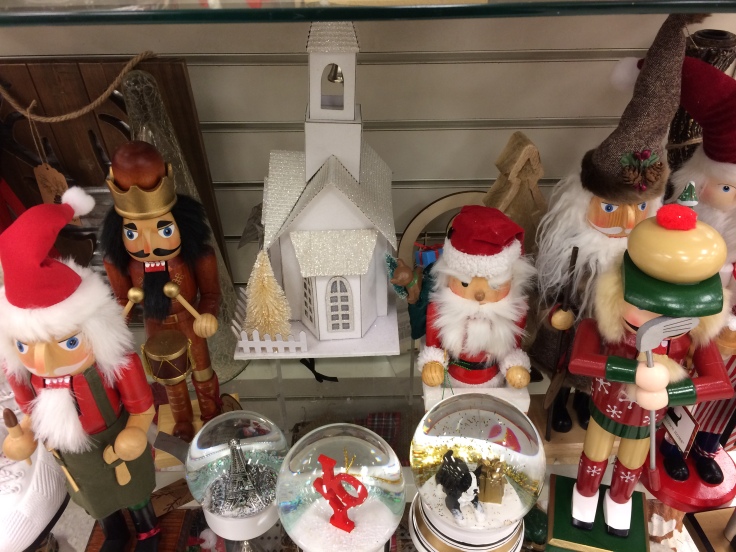
By way of solution, I perused the nearest home decor stores for a suitable fit. Seeing as the purpose of Advent is to re-live the anticipated coming of Christ, I went into my search with a definite sense of particularity. Reindeer wearing lederhosen and giant snowman heads don’t do much for me in the ways of reminding me of Jesus, and so unsurprisingly, my thorough search ended in disappointment. (Bonus points to anyone who can find the cross hidden in the bearded nutcrackers and snowy Eiffel Towers above).
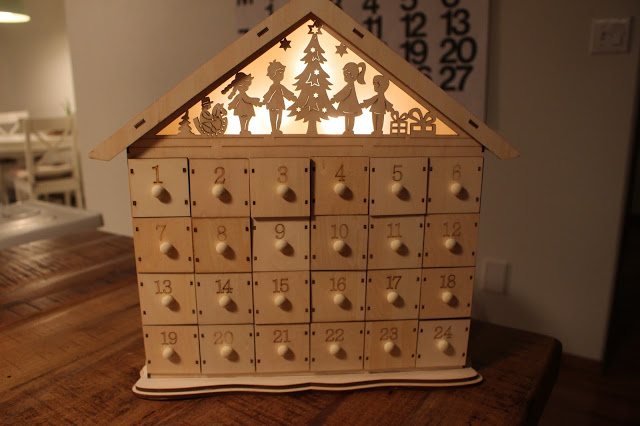
But another key element in understanding the crafting that would ensue is something my family likes to call, “Fixation McGee.” My dad is most often the victim of this phenomenon, wherein an object (most often a food item) is subconsciously decided upon and incessantly brought to the forefront of the mind until the target item is acquired. Prior to my searching, I had seen this photo on my sister-in-law’s blog and immediately fell in love with the idea of having an advent calendar with drawers. What I originally mistook for harmless intrigue quickly escalated into a case of Fixation McGee: aisles were checked three times over, and some stores visited and revisited within the hour. The astronomical prices of versions of my dream advent calendar that I found online only added to the weight of impossibility that characterized my mission. And then I saw it:
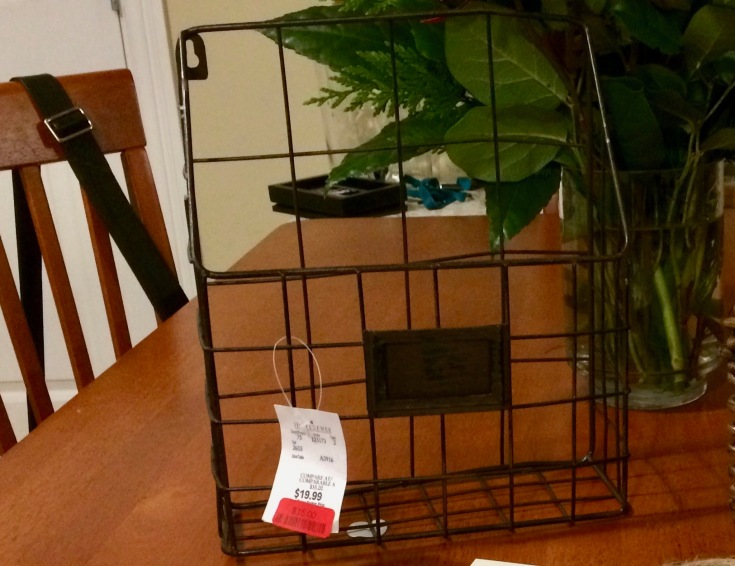
Yes, that’s a mail holder. But an apparent side effect of Fixation McGee is that it causes you to see things in a way you otherwise would not have seen them. From here on, I task myself with outlining the mental (and physical) processes that brought the particularities of my fixation to fruition in this here mail holder. Let’s start with supplies:
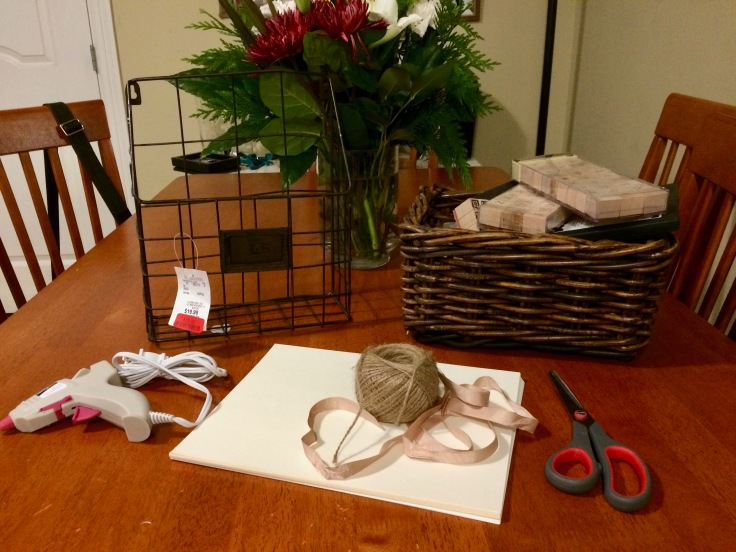
For sake of not being misleading, I actually never used the hot glue gun in my project. Another phrase you’ll hear in my family is “Scrambles McGee,” which is admittedly only used on me because of my tendency to be impulsive and not think things through in advance of doing them. When I couldn’t find the hot glue sticks I reverted to Gorilla Glue, the strength of which was probably not necessary, but I digress.

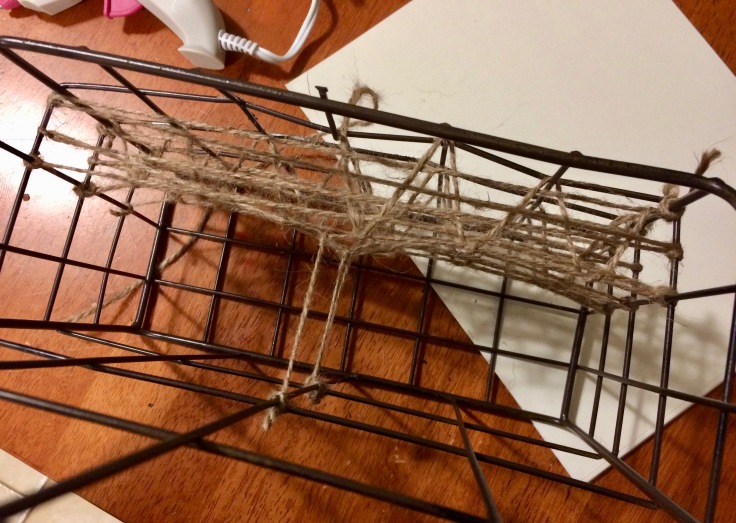
First I had to pry the label holder off the front of my mail holder. I wouldn’t recommend my process (for safety reasons) so all I’ll say here is that it involved a hammer and some elbow grease. Next, I got started making shelves for my boxes to rest on. This involved some knot tying and loose weaving, steps which I trust would be better understood via visuals:


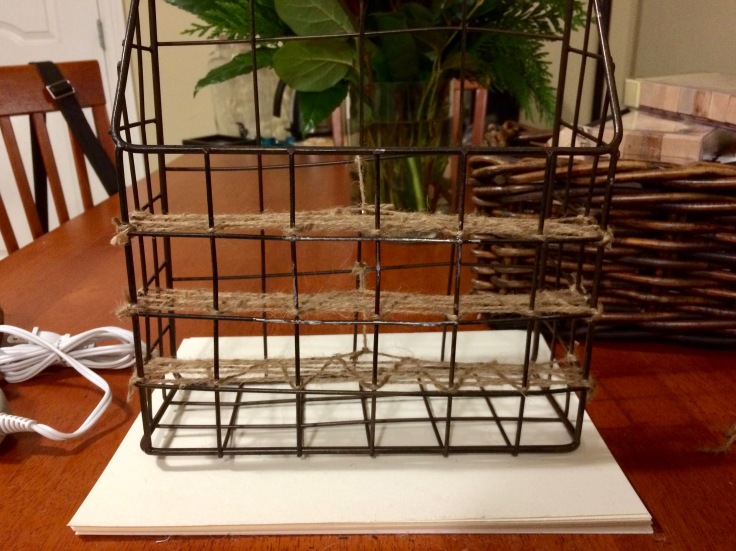
To add a little sturdiness, I anchored each shelf to the back of the mail holder like so:
And so concludes the construction of the shelves!
I later realized that it would be helpful to add a backing to each shelf to keep the boxes from falling through. I appreciate that by this point the amount of string makes these pictures less than helpful in showing you exactly what I did. Basically all you need is to tie some string in an X behind each shelf (and I doubt there’s a wrong way to do that).


Now for the boxes. If you have a method that resonates with your way of thinking, I would definitely recommend using that. Given my lack of patience in trying to understand Google diagrams, I developed my own method, which is largely a product of trial and error and may or may not make sense to the average person. There are two methods: one for the nicely symmetrical square openings, and one for the oddly skinny rectangular openings. We’ll deal with the easy squares first.
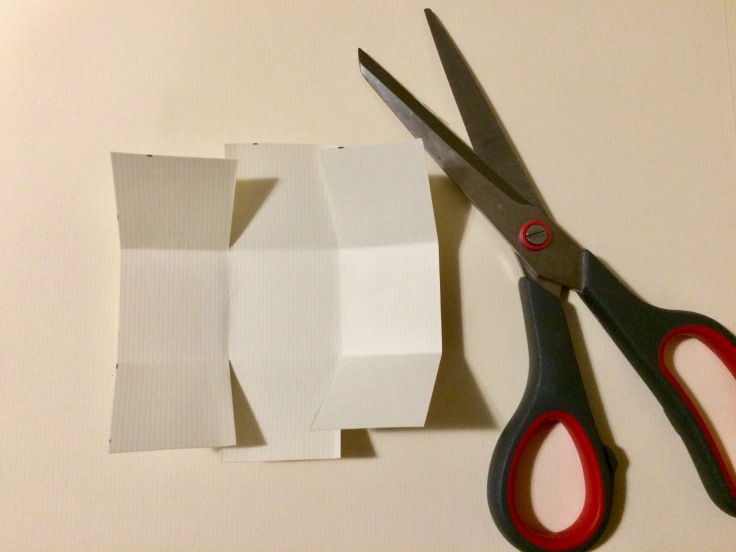
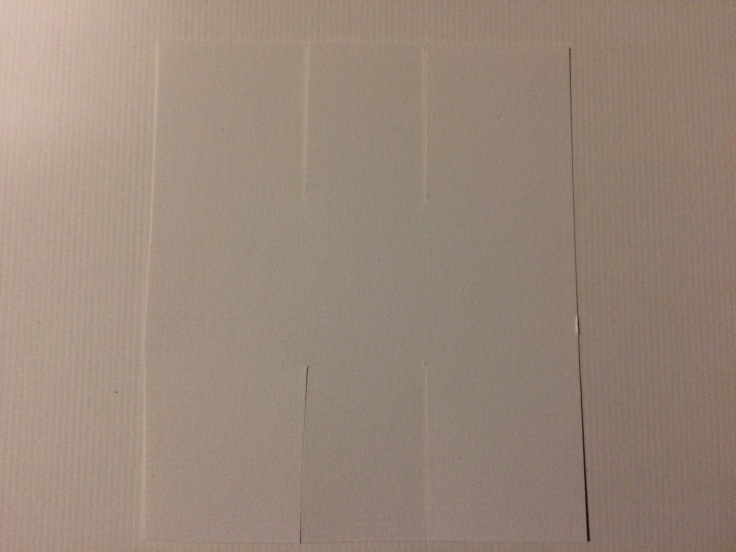
Essentially, each box was composed of a square of card stock just under three times the length and width of the openings. In my case, because the openings were about four centimeters tall and wide, I cut squares that were about 10.5-11cm per side (just shy of 12cm). Though they varied slightly, I used the same measurements for all but those rectangle ones I mentioned earlier.


Once I had my card stock cut, I folded it into thirds from the top down and side to side to give me a grid of nine smaller squares


and used my grid to cut slits in my card stock like so:
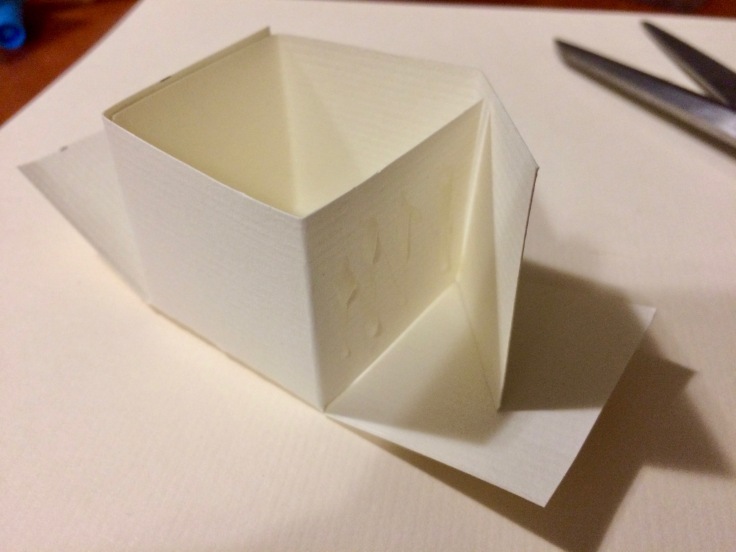
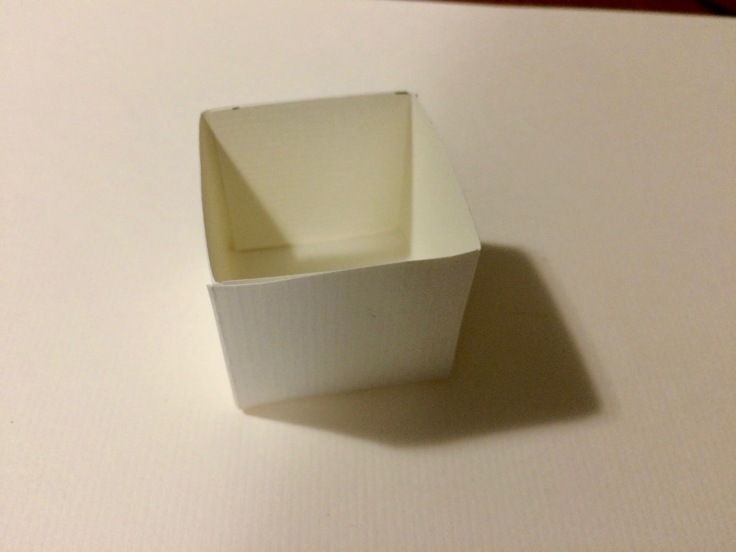
The outsides can be folded easily toward the middle and glued together to form a box with no top, perfect for housing your little advent treats!
Now for those funky non-square openings. This is the best explanation I could come up with by my trial and error methods. If you can make sense of it, I congratulate you:
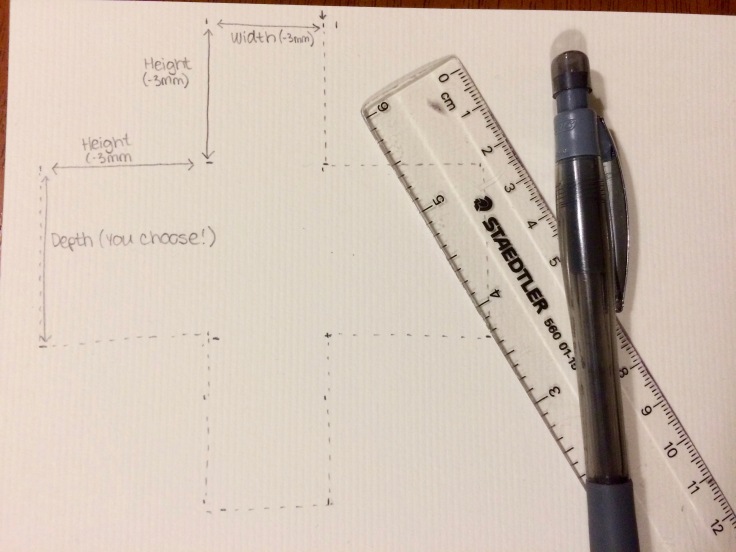
A cross like this represents the sides that will make the faces of your box. The (-3mm) is just meant to suggest that you make the measurements shorter than the actual length and width of the opening so that your box fits nicely inside the calendar. If you cut out a square around your diagram, you can make slits (indicated in the following photo) that give you surfaces to glue your box together.


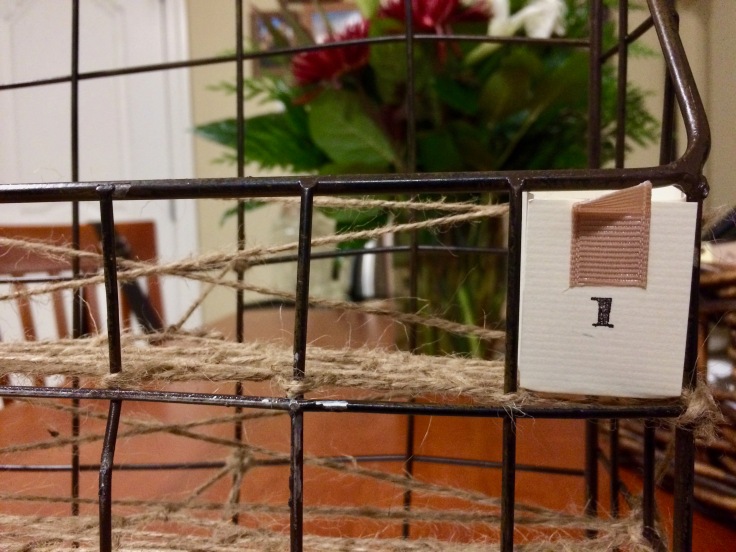
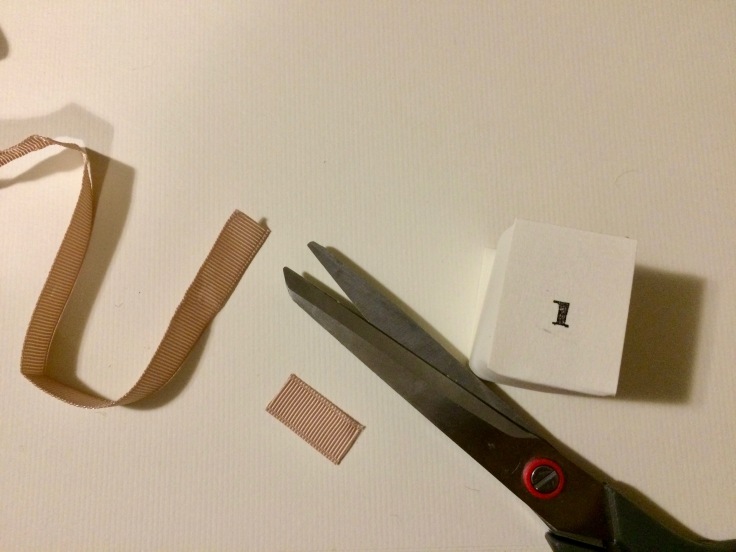
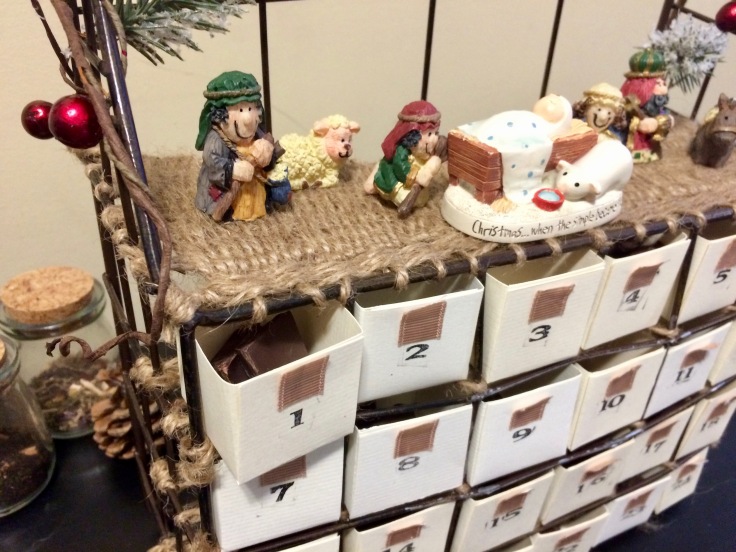
Once your twenty-four boxes are out of the way, it’s back to the easy stuff: namely stamping and affixing ribbon pull tabs!
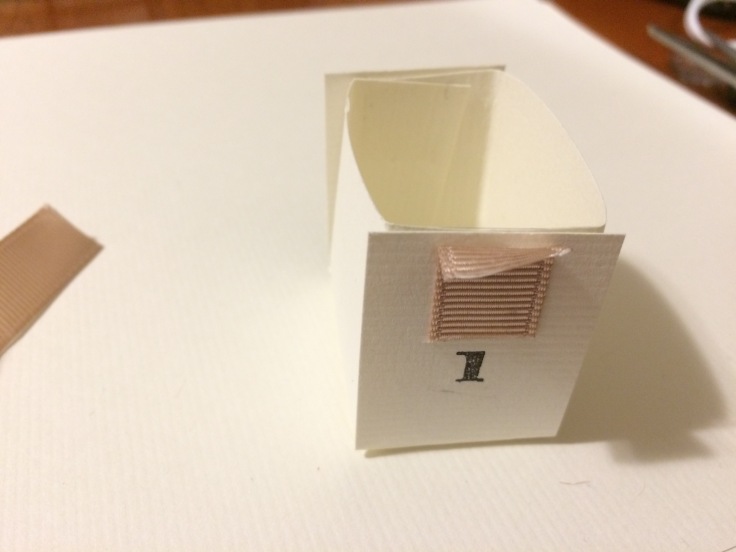
This box was ugly and I ended up redoing it, but it gives a good idea of how the pull tabs work: a strip of strong glue on the bottom and folding a crease into the top:
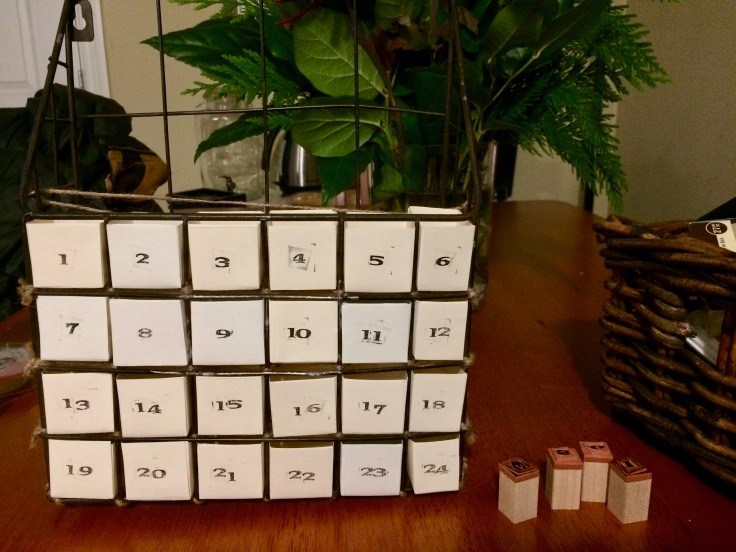
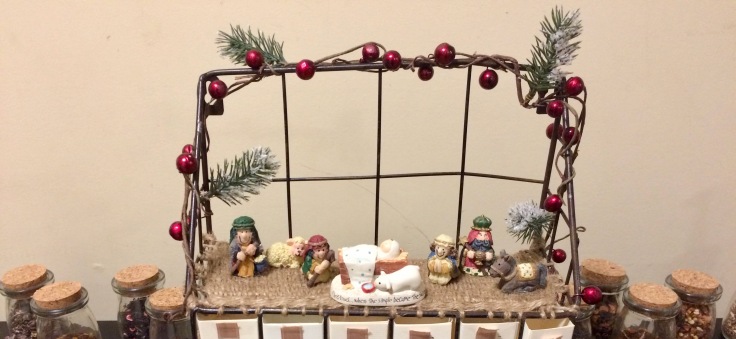
All that’s left to do then are the finishing touches! I went a little crazy on string weaving across the top of my calendar to create a platform for my mix-and-match nativity set (whose missing baby Jesus I replaced with a slightly disproportionate figurine I found at the Christian book store). The strategy is the same as that used for the shelves, except that the weaves are much, much tighter.
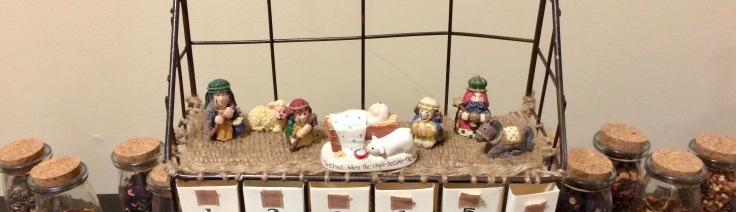
Then a strand of dollar-store garland to frame the scene,
and last but not least, a golden duct tape Christmas star.
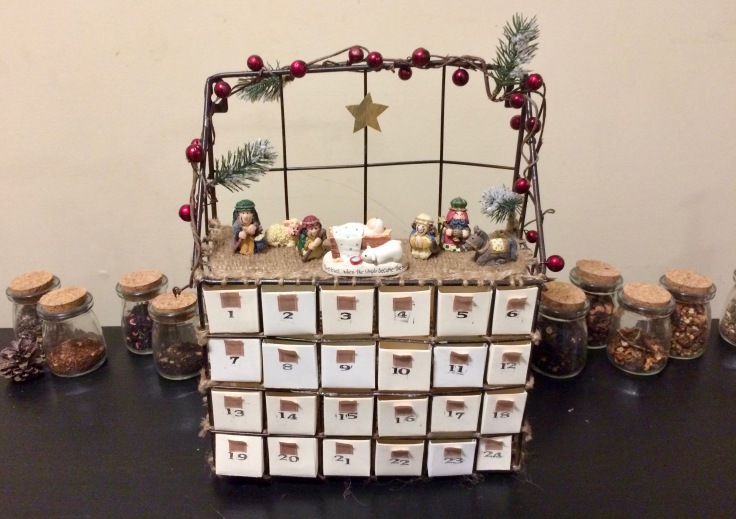
And there it is: my first ever drawer-style advent calendar! Perhaps not the most sophisticated, but it accomplishes the task at hand and I trust that it will tie me over until the day I can afford a proper fancy one.
But perhaps most importantly, it was super fun to make! There really is nothing like the creativity surge one experiences in the window of time between the end of classes for the semester and the beginning of final papers and exams. I’m happy to say that my impulses were thoroughly appeased.
Happy Advent, everyone!

December 6, 2016 at 7:21 pm
that exhausted me….I am happy to pass my crown as queen procrastinator onto someone who is far more worthy of the title -isn’t it final exam/paper time in Uni?
LikeLike
December 6, 2016 at 7:21 pm
but extremely impressive!!!!!!
LikeLike